Carbon Fiber Road Bike

As I started riding my road bike more and more in high school, I gained an interest in high-end carbon fiber road racing bikes. At the time, the main focus of the performance bike industry was to make bikes as light as possible. I realized that the advantage of using carbon fiber was not soley in its material properties, but also the ability to design and manufacture structues in a completely new way. I researched different materials and methods including wet layup or preimpregnated carbon fiber, using a combination of molds, plugs, heat, and pressure. From this research, I realized it may be feasible to build my own.
Because I was essentially starting from scratch, I had no idea how many and in what orientation I should be using the sheets. I made approximations using the tensile strength of the carbon fiber and epoxy provided in their datasheets, but did not model the layers and perform FEA using software. I designed the layup based on forces and moments determined from FEA of a model with circular tubes and isotropic properties (steel) and intuition of the carbon fiber's anisotropic properties. This was quite risky, but I decided to build the frame anyways and test its strength afterwards.

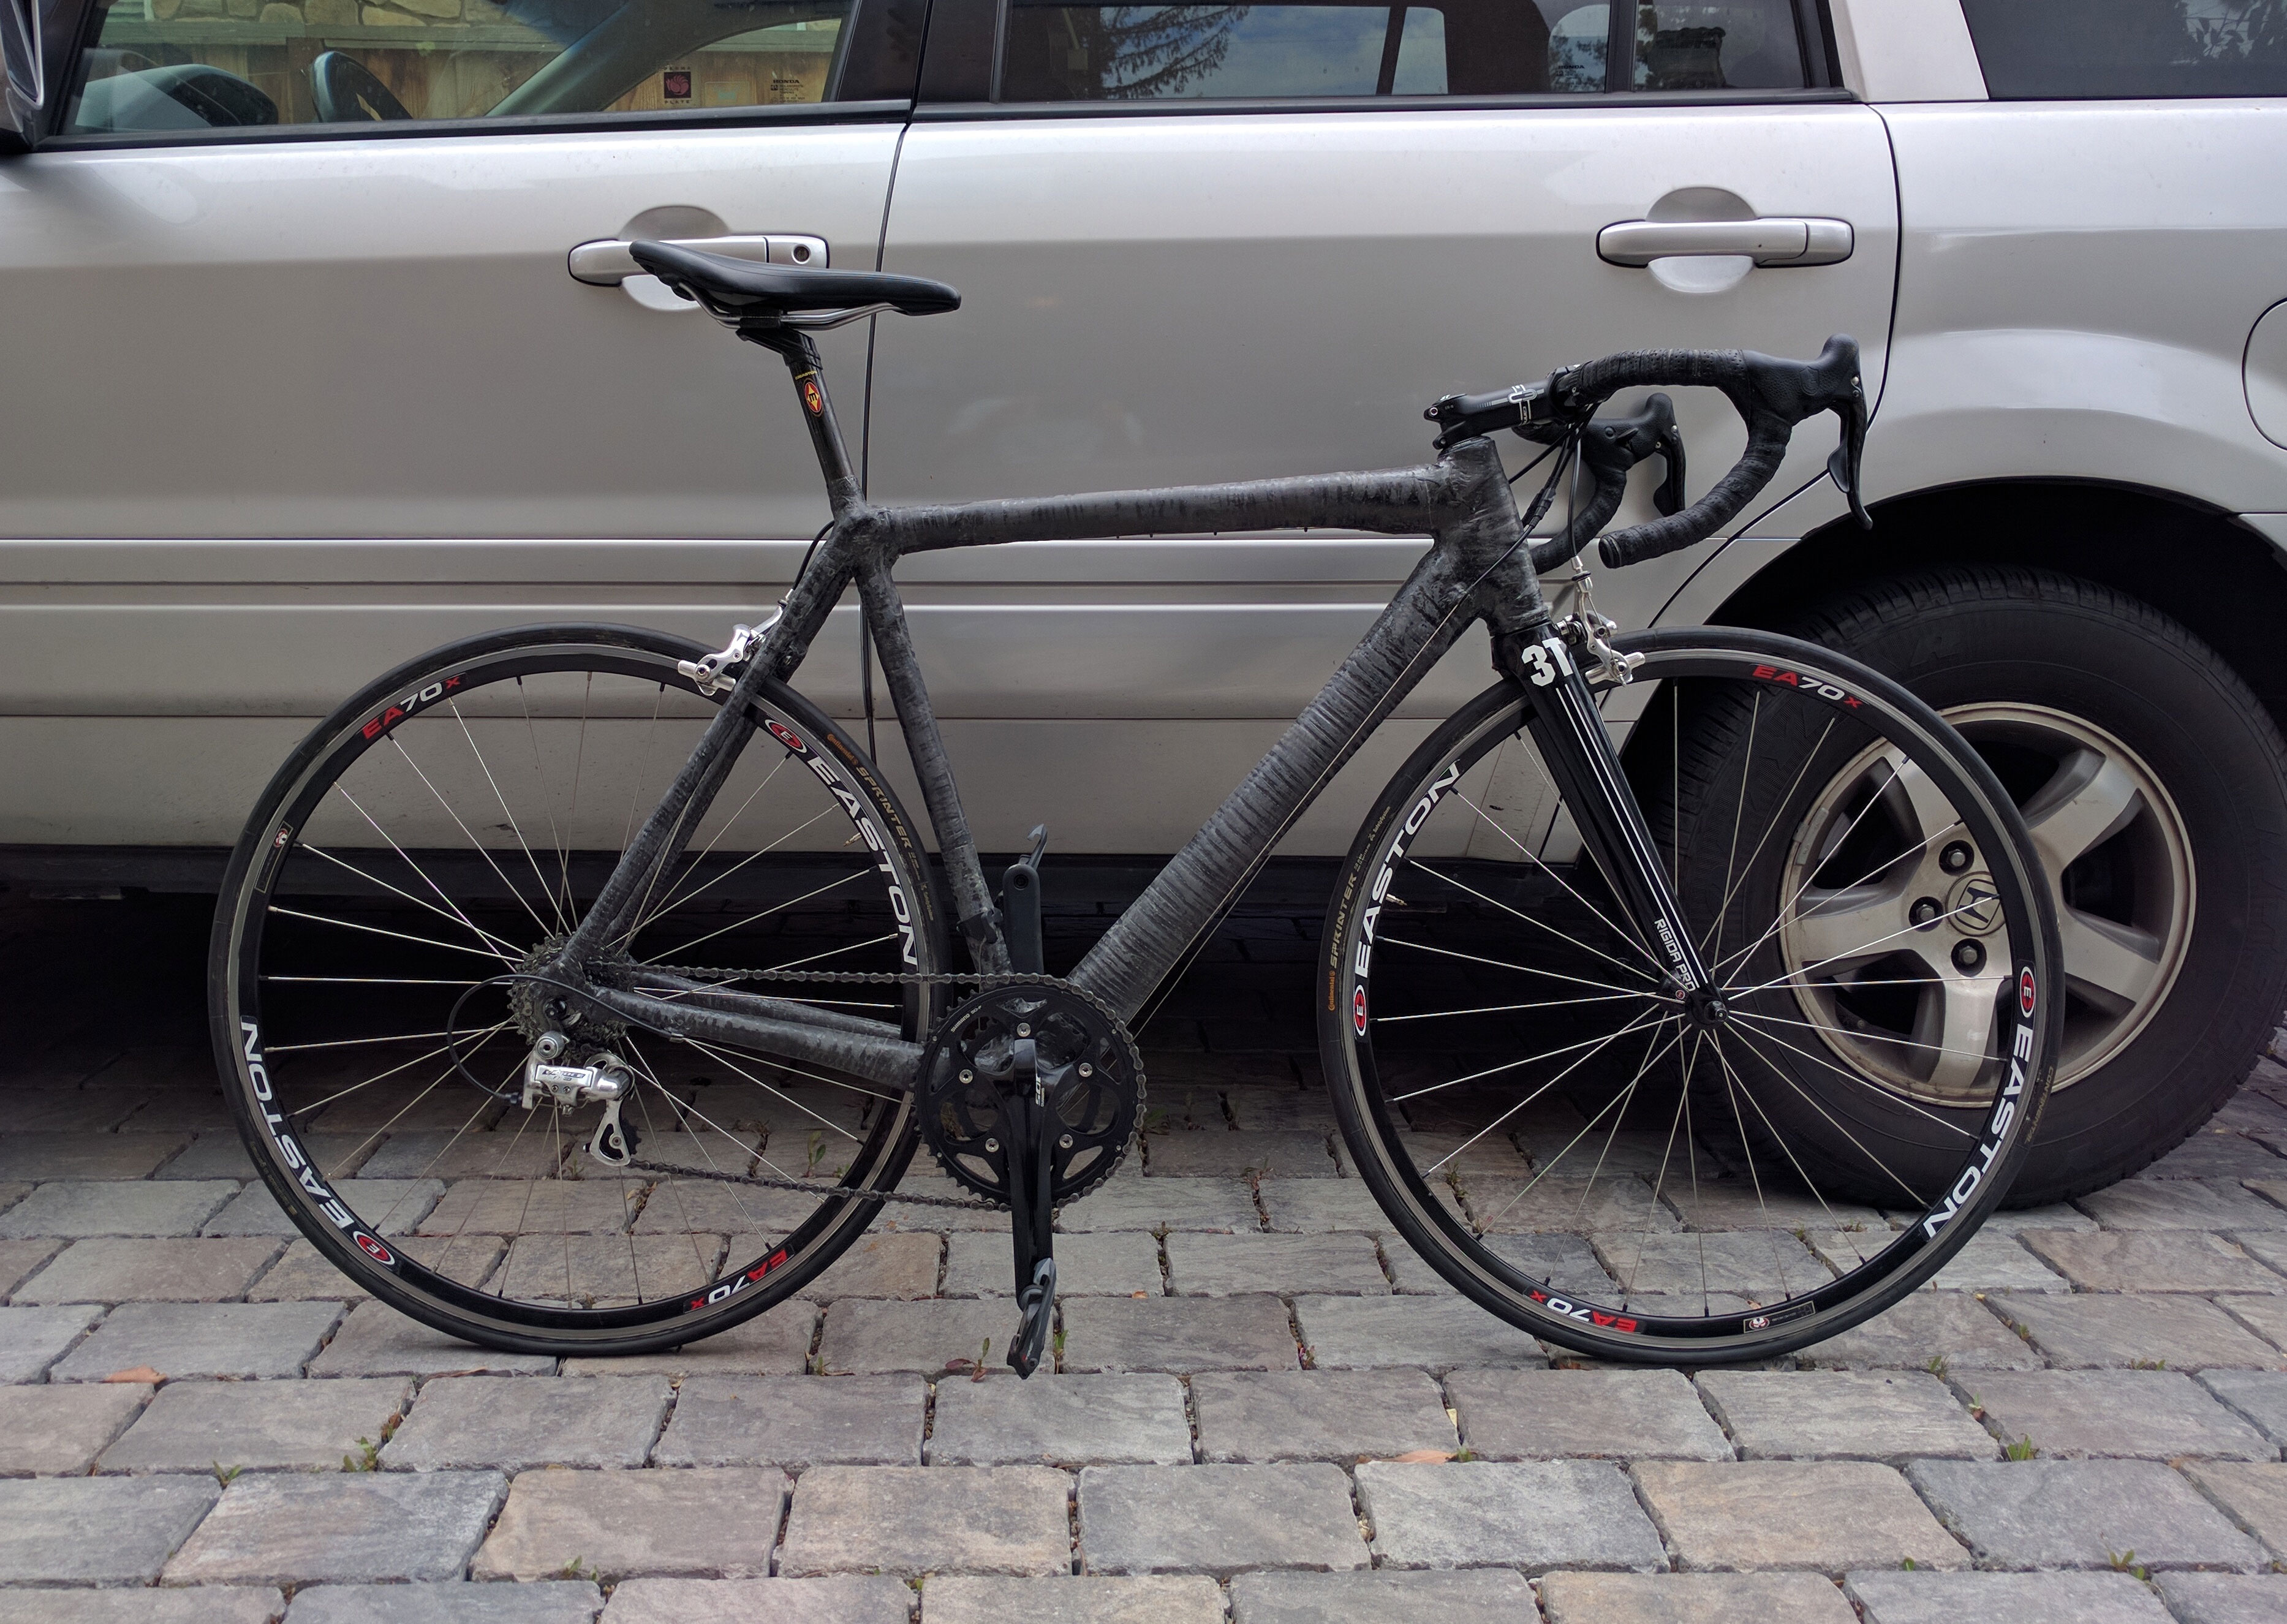
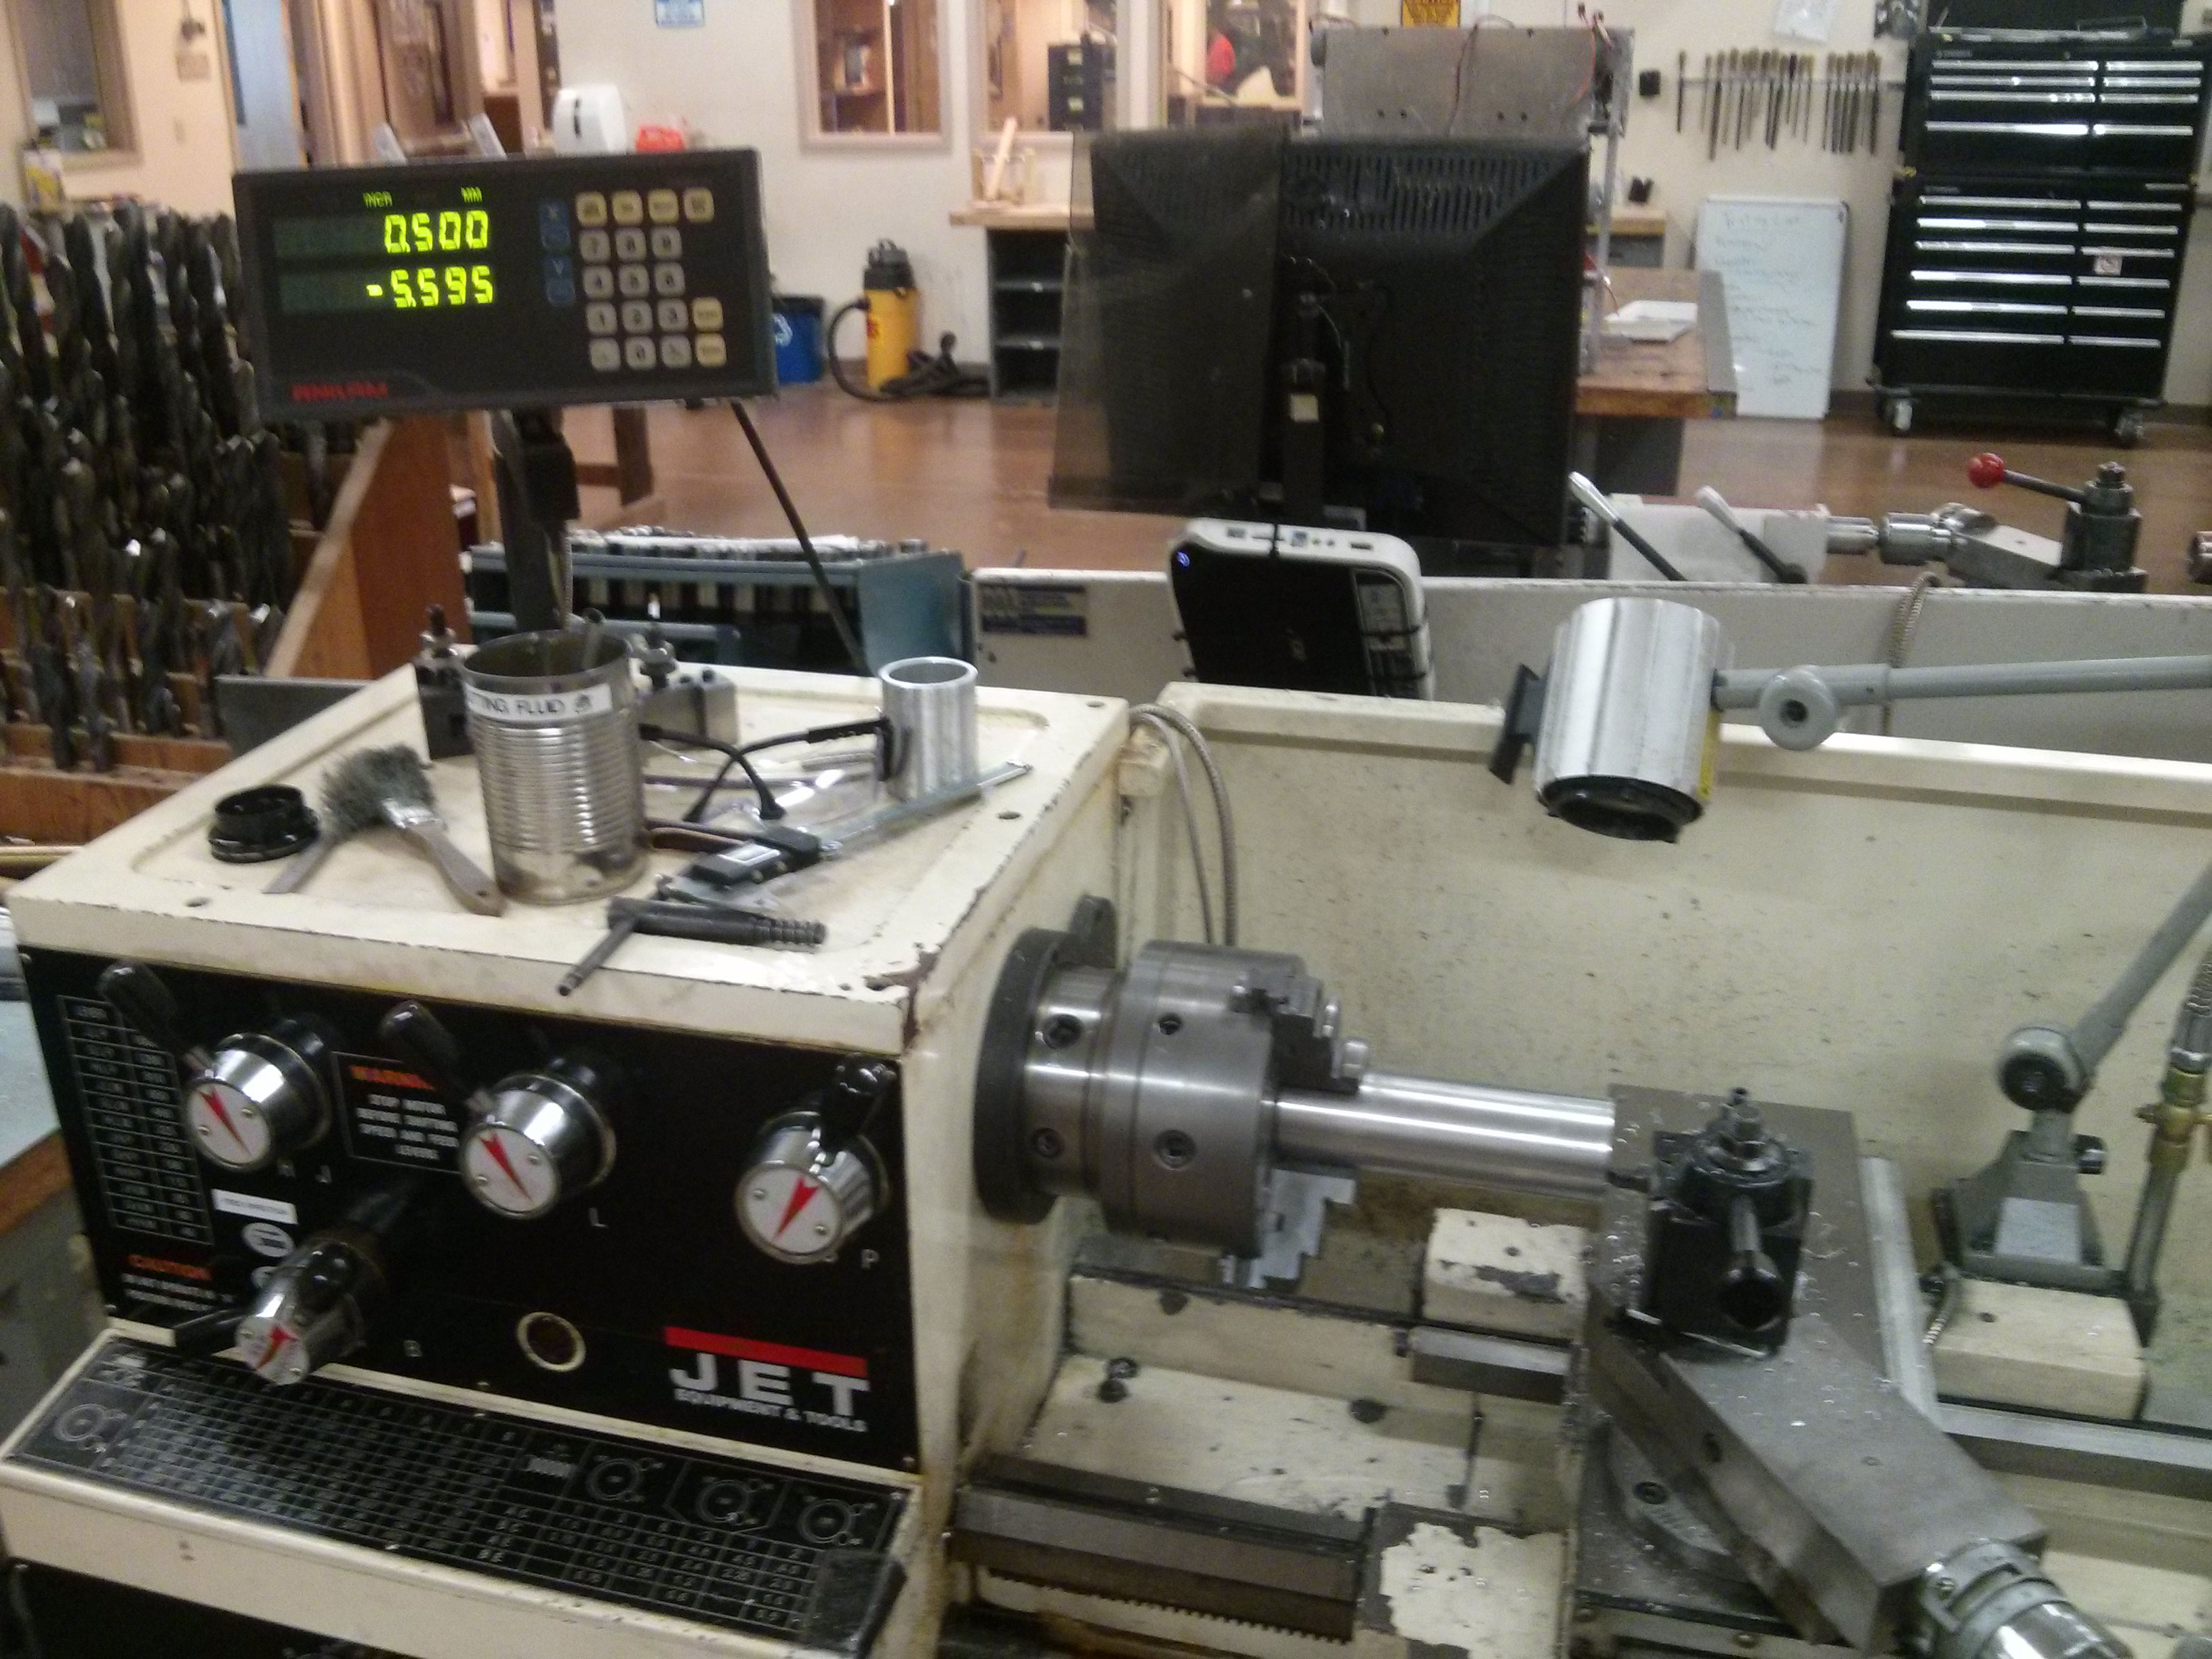
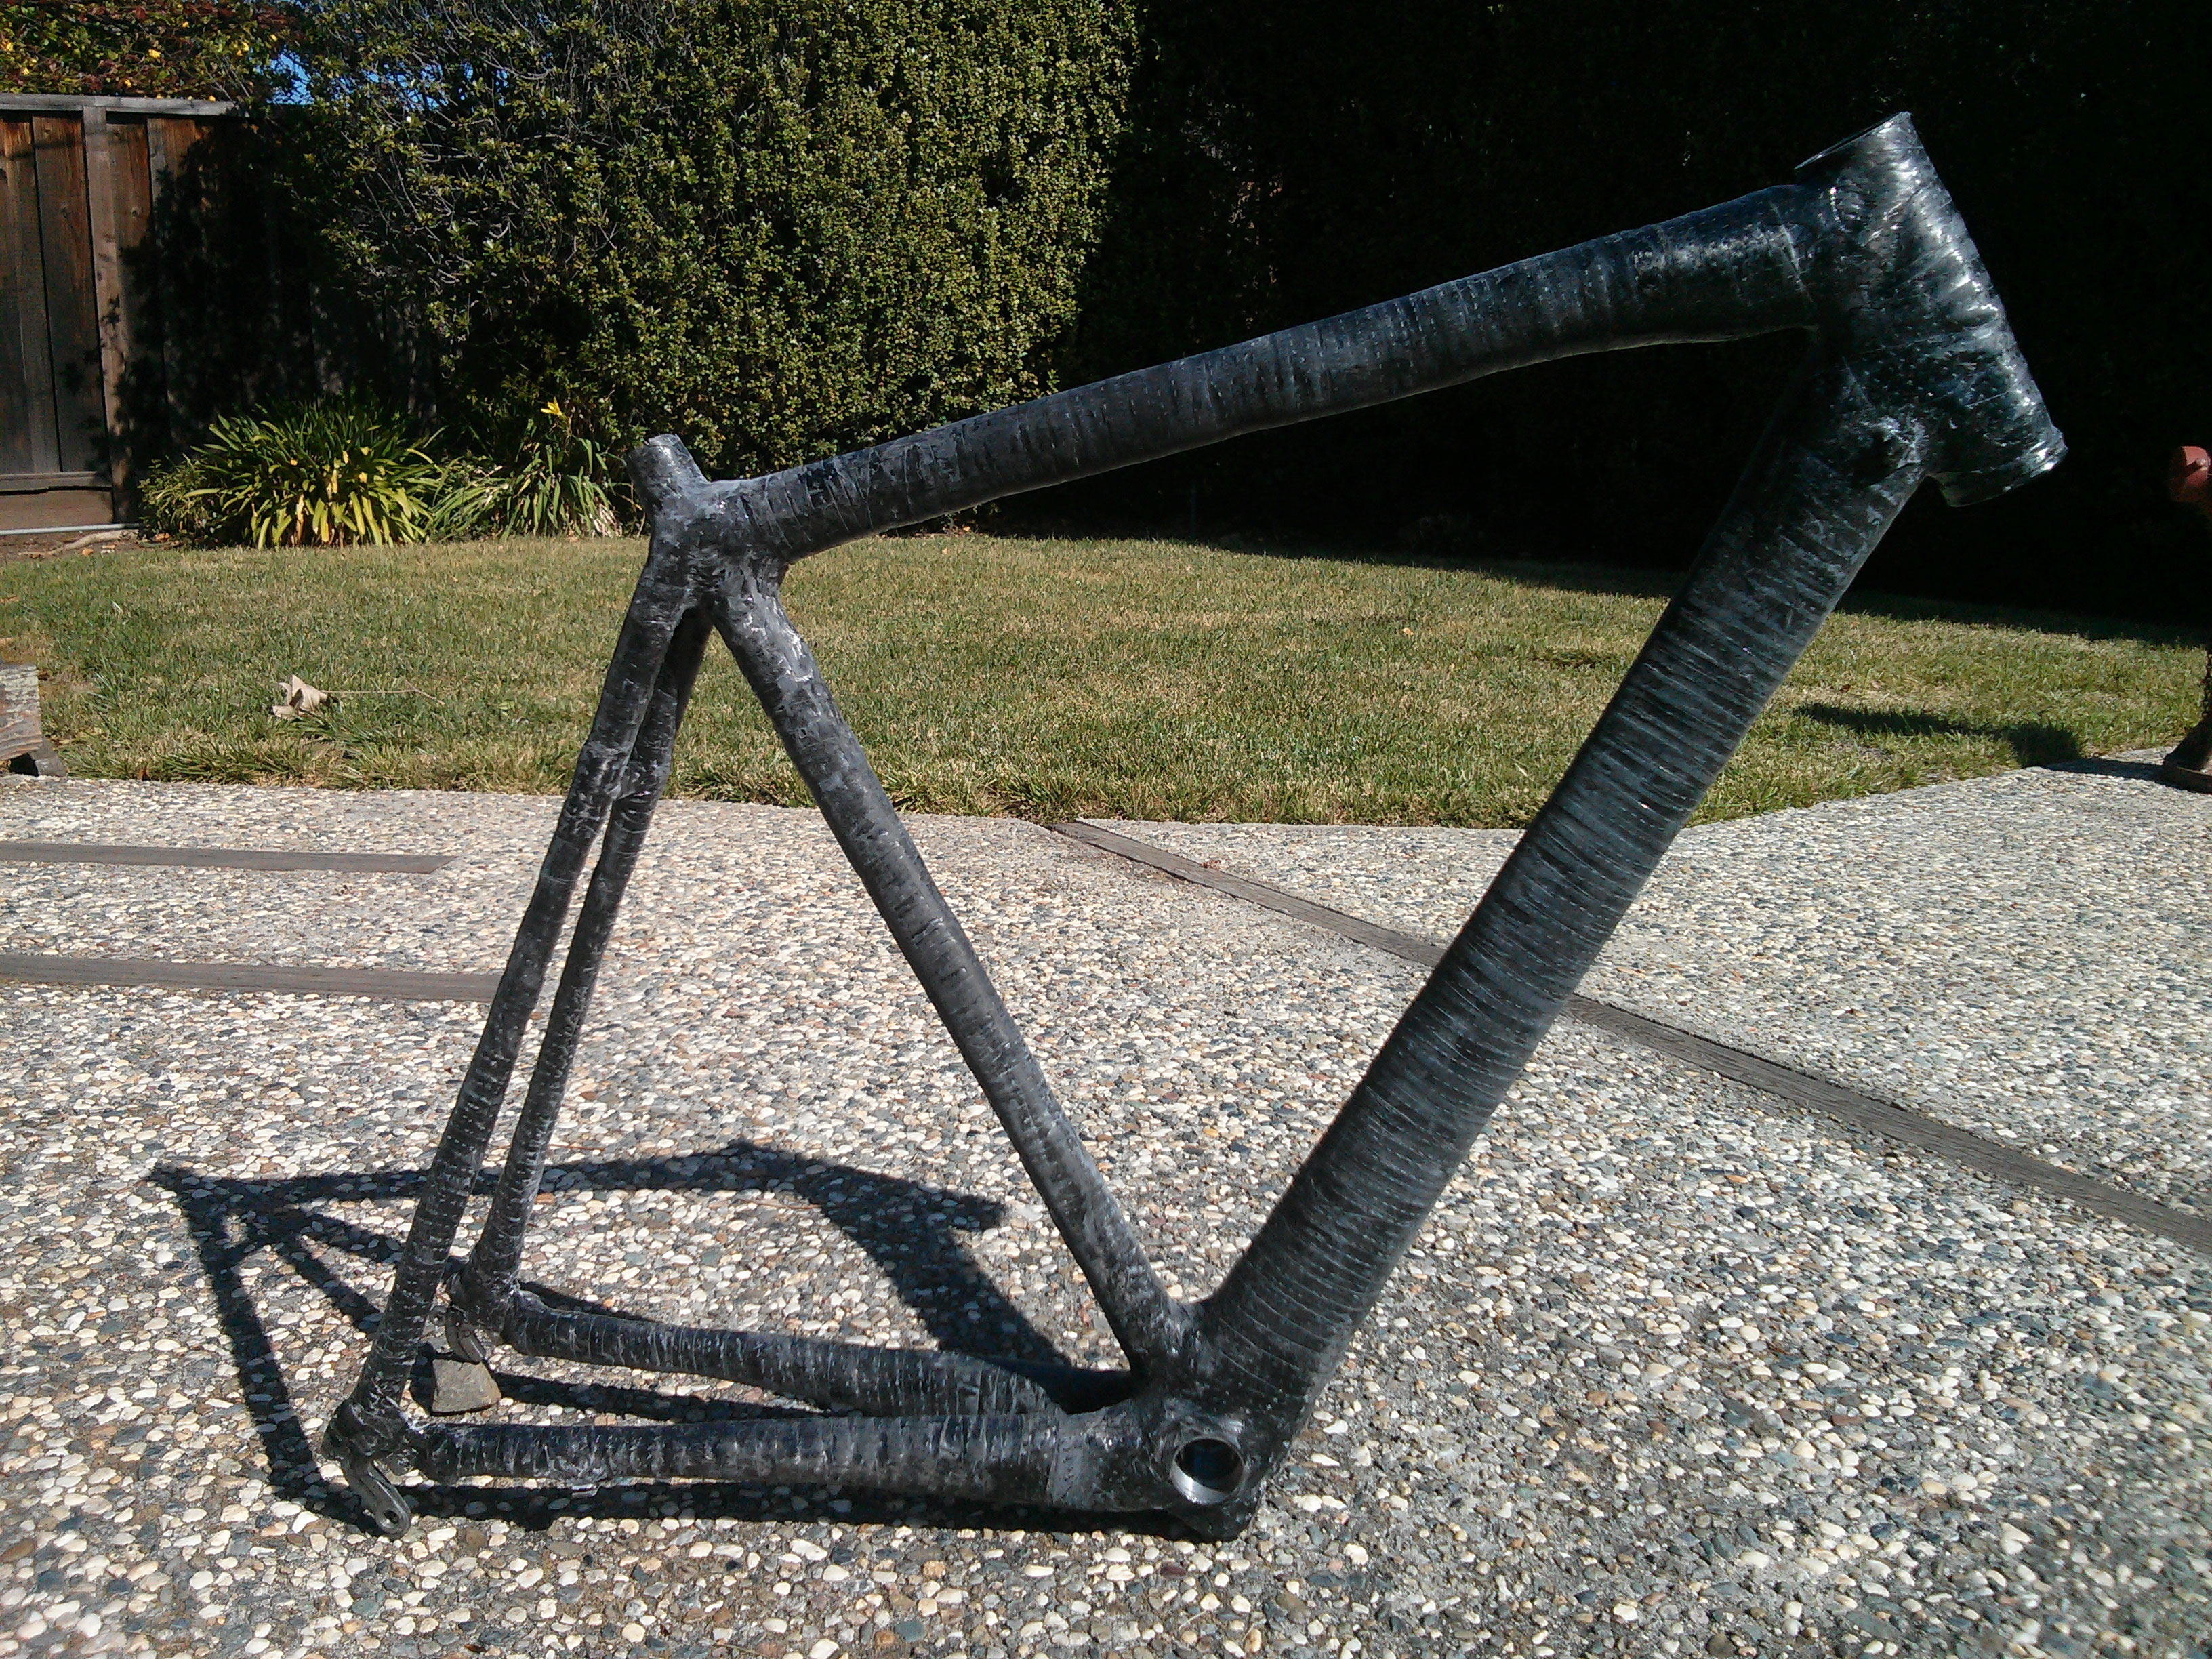
I machined metal inserts for the head tube and bottom bracket, and bought metal dropouts for the rear wheel. I used insulation foam for the core of each tube which I shaped by hand. To apply pressure I wrapped the tubes in electrical tape. The epoxy I used cures at room temperature over 24hrs, so I wrapped each tube, compressed the layers and let it sit for a day. I used a layer of fiberglass between the carbon and metal components to prevent galvanic corrosion. If I were to do this process over, I would likely use vacuum bagging to ensure higher and more consistent pressure.

Each tube was mitered by hand and joined by wrapping strips and sheets of carbon fiber around each joint. Alignment was not very good and the pressure applied during curing was not as great. The final frame came out to be just a little heavier than my aluminum road bike frame, but felt about as stiff from inital tests. I assembled the complete bike and tested its strength by tying weights to the pedals and head tube in various configurations as well as jumping on the frame with my body weight. Although not conclusive, the tests gave me enough confidence to give the frame a test ride. I rode the frame to and from school for about a month before I started noticing some delamination in the rear drop out junction. This is likely due to uneven or not enough compression during curing. I have since stopped riding the frame and have moved the components to another. Although the final product became unsafe not long after it was complete, I am proud of the process and took what I learned to help in building a carbon fiber I-beam for the SAMPE I-Beam competition my sophmore year of college.